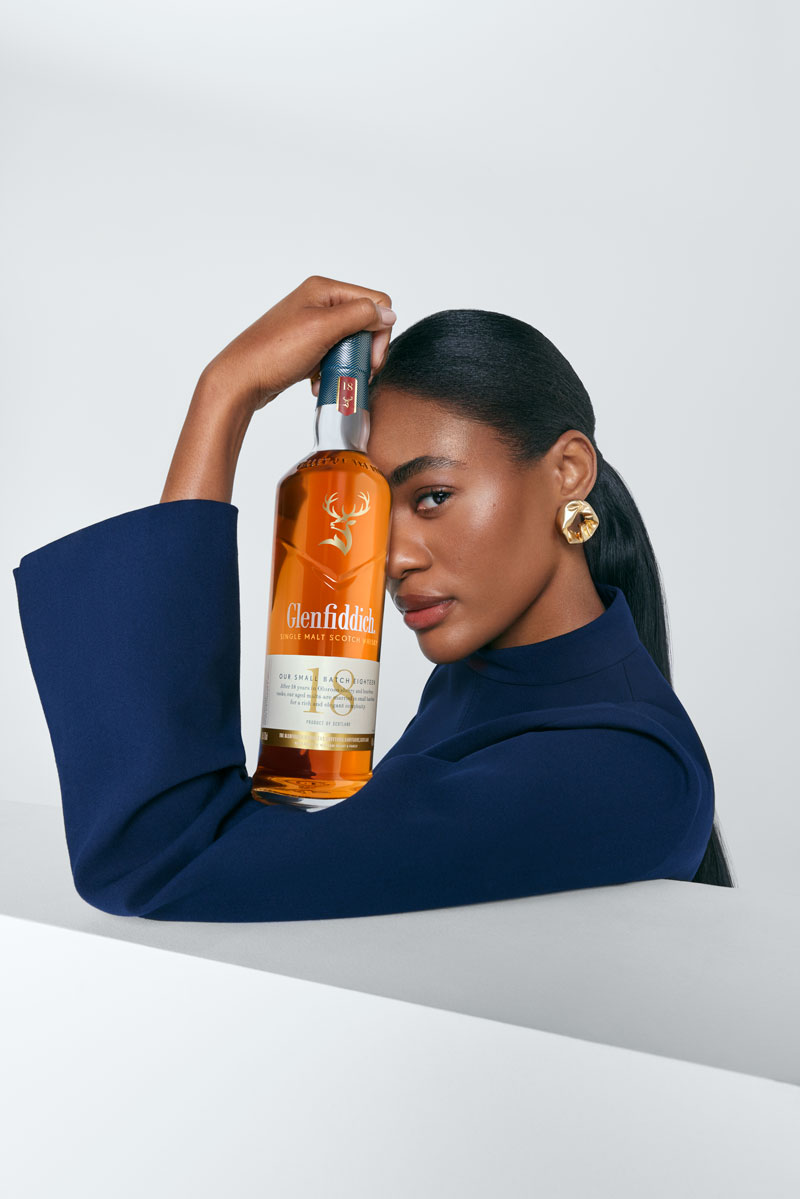
Our signature whisky, your personal touch
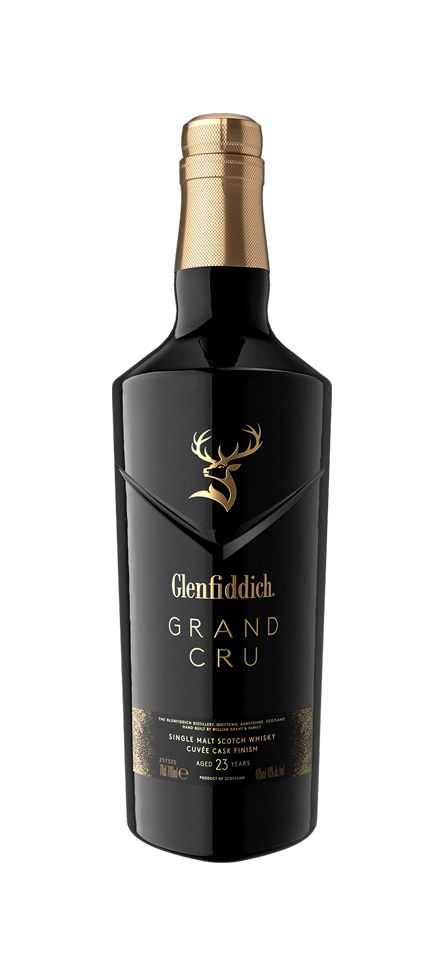
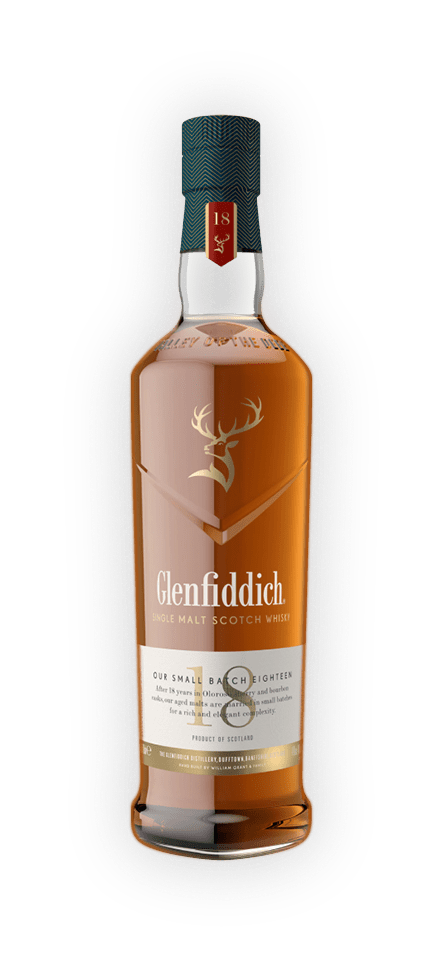
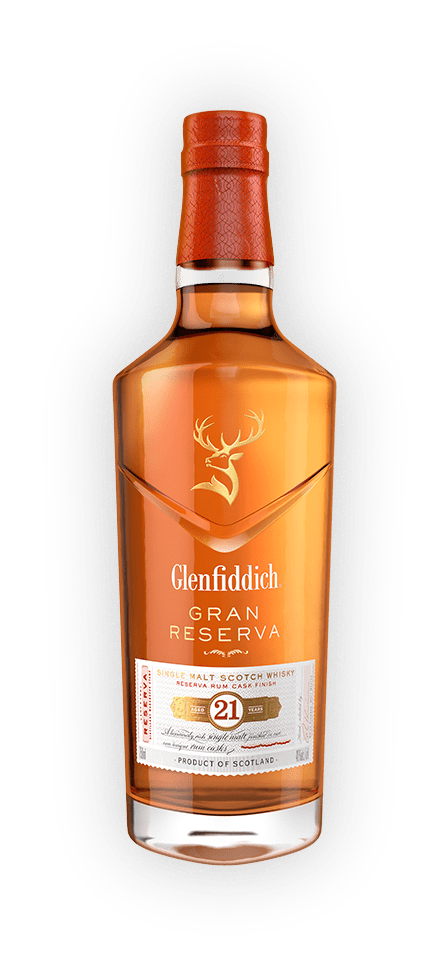
Glenfiddich
Celebrate
with a special
Gift
this festive season
with a special
Gift
this festive season
For any occasion


WORLD’S MOST AWARDED SINGLE MALT SCOTCH WHISKY*